
Blog
Best first livestream setup for a small church with volunteers

The person who will run your stream is probably someone who raised a hand because nobody else did. Maybe a college student, maybe a parent with a few free Sunday minutes, maybe a retiree who is comfortable with a phone but has never touched a video switcher. The best first livestream setup for a small church is not the one with the most impressive spec sheet. It is the one that person can run alone, reliably, on a normal Sunday, without calling anyone in a panic. We build a lot of these systems, and the volunteer always comes first in the design.
So instead of starting with gear, let us start with the team and the room, then choose the pieces that fit. That order is what separates a stream that lasts from one that quietly stops after a few enthusiastic weeks.
Design around the volunteer, not the spec sheet
A system a volunteer cannot operate confidently is not really a working system, however good each part looks. The first thing we want to know is how much training the person running it will have, and what happens when something goes wrong while the service is live. Those answers shape every choice that follows, because a setup that needs an expert on hand every week will fail the first Sunday that expert is traveling.
The goal for a first setup is a workflow that one person can learn in an afternoon and run from one seat. That usually means fewer moving parts, hardware that does its job without a finicky computer in the chain, and cameras that can be aimed from a control surface rather than by standing behind them. Simplicity here is not a compromise. It is the feature that keeps your stream alive.
Start with one good camera you can control remotely
For a brand new stream, one well-placed camera that a volunteer can control beats several cameras that overwhelm them. The camera decision is really a people decision: if you had a trained operator free every week, a manual camera could shine, but most small churches do not, and that is simply the reality of a volunteer team rather than a shortcoming.
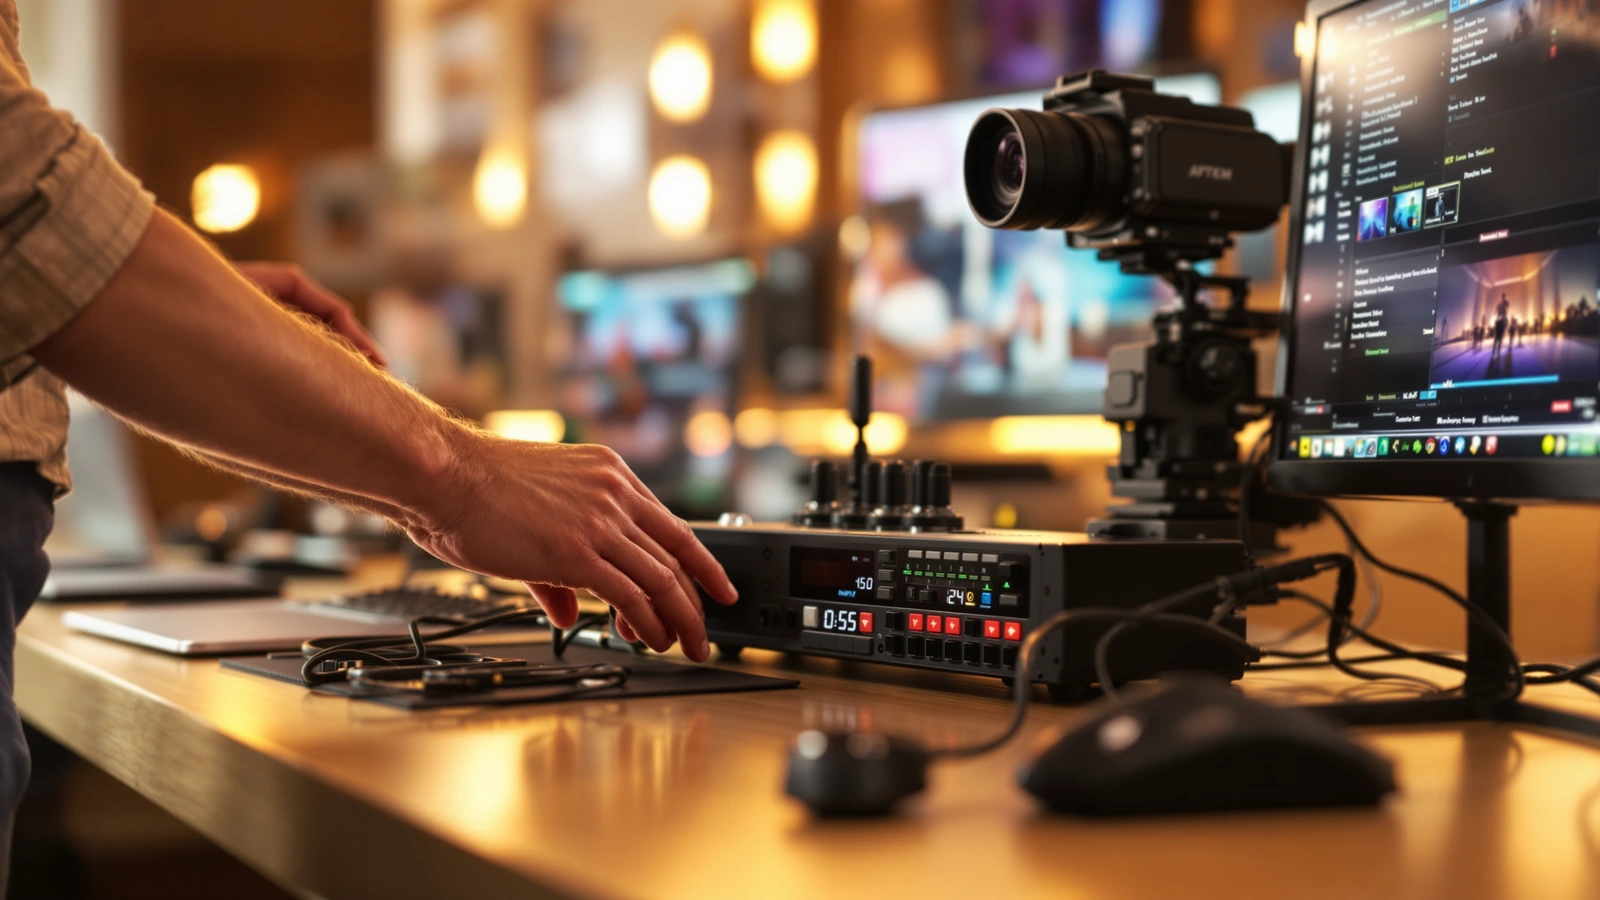
This is why a PTZ camera fits a first setup so well. It mounts at the back or side of the room and pans, tilts, and zooms on command, so your volunteer never has to leave the control position. They set a few presets, a wide shot of the platform, a tighter shot on the speaker, maybe a framing for the worship team, and recall them with a button during the service. Presets are especially kind to a new operator because they remove the risk of a clumsy live move on camera. Our Move-SE 1-camera PTZ streaming kit with the ATEM Mini Pro is built around exactly this idea, pairing one remote-controlled camera with a switching core a volunteer can run solo.
If even presets feel like more than your first operator wants to manage, auto-tracking can follow a pastor who moves across the platform with no input at all. It works best when the camera has enough optical zoom to reach the stage and is placed thoughtfully, so the movement looks smooth rather than distracting. We explained where this approach fits in our piece on why PTZ cameras suit churches serving both in-person and online congregations, and it is a strong default for a team of one.
Where the camera should live
Placement decides how good that one camera can look. Mount it where it has a clean, unobstructed line to the platform, high enough to clear heads but not so high that the angle looks down on the speaker. From the back of a typical sanctuary you will want real optical zoom to pull a usable closeup, since optical zoom holds detail in a way digital zoom cannot. If you want a deeper walkthrough of getting this right, our guide to church camera placement and where to mount your cameras covers the angles that actually help a viewer.
Audio is where a first stream lives or dies
If you fix one thing before going live, fix the audio. A congregation watching from home will forgive a softer image far longer than they will sit through sound they cannot follow, which is why we treat clean audio as the foundation of the whole setup rather than a detail to handle later. Get intelligible, consistent sound first, then worry about polishing the picture.
For a first setup, the cleanest path is a single feed from your sound board into the switcher’s audio mixer, set at a deliberate level rather than guessed at. A few things tend to surprise new operators. A feed pulled straight and dry from the board can sound thin online, so a little room sound often makes it feel natural. A signal pushed in too hot will clip and crunch at the switcher, so it is better to come in a touch low and bring it up. And the mix that sounds full in the room may translate differently to a stream that does not capture the room’s energy. Our post on why live stream audio sounds bad is worth a read before your first broadcast, because most first-stream audio problems come from these few causes.
One box that switches, streams, and records
A first setup needs something to take the camera, mix the audio, and push the result to your platform. You can do this in software like OBS, which is flexible and free but puts a computer in the signal path that has to behave perfectly every week, which is a lot to ask of a volunteer who did not build it. For most first setups we reach for a hardware switcher instead, because it removes the computer as a point of failure.
The Blackmagic ATEM Mini Pro is the core of our small-church kits for this reason. It accepts four HDMI inputs and includes built-in streaming, recording to a USB drive, and a multiview output in one affordable box, so your volunteer presses a button to go live rather than nursing an encoder through a service. Recording to a USB drive at the same time gives you a clean copy for posting later, with no extra steps. We wrote more about the device in our look at whether the ATEM Mini Pro is a good choice for church live streaming, and for a first setup its push-button simplicity is the whole point.
Those four inputs also keep your ambitions honest. Four angles is already more than most volunteer teams use well, so the switcher will not tempt a new operator into a system more complex than they can run. Starting with one camera into that switcher leaves you three inputs of room to grow into later, on your own timeline.
Confirm the internet before you go live
Your stream rides on your upload speed, and that is the one part you cannot buy in a kit. A 1080p stream generally wants a steady upload in the range of five to ten megabits per second so the encoder has headroom, and a wired Ethernet run straight from the source beats wifi for reliability every time. If your upload is limited, plan for 1080p or 720p rather than chasing a higher resolution your connection cannot carry. The cleanest picture in the world will not help if the stream keeps dropping, so sort the connection out before your first Sunday.
Lean on remote support so your volunteer is not alone
The quiet advantage of a first setup built as a kit is that the hard part, the configuration, does not land on your volunteer. Much of a system can be set up remotely once you have connected the cables and mounted the camera, so the parts of the project most likely to stall a new operator get handled for you. You do the physical work, the mounting and the cable runs, and the camera settings, exposure, presets, and stream configuration can be dialed in over a remote session.
That support model also means your volunteer has someone to call when a setting drifts or an input goes dark, which turns a Sunday morning scare into a quick fix. We think of that as part of the product rather than an extra, because a first-time operator who knows help is a phone call away runs with far more confidence. If you want to understand how this compares to other ways of getting online, our walkthrough of building a church live stream setup from scratch shows where remote support fits in the process.
Room to grow when your team is ready
A good first setup does not box you in. Once your volunteer is comfortable running one camera and the audio is clean and consistent, adding a second angle is a natural next step rather than a rebuild. A second camera gives the viewer the variation that keeps attention from drifting, a wide shot for context and a closer one for the person speaking, without requiring a second operator when both are PTZ cameras driven from presets.
When that day comes, the 2-camera live streaming kit is the straightforward step up, and it plugs into the same kind of switching workflow your volunteer already knows. Growing into it later, on your own schedule, is far easier than trying to launch with more than your team can handle on day one.
For most small churches getting started, the right first move is a single matched, pre-configured camera kit that one volunteer can run with confidence. Take a look at our Move-SE 1-camera PTZ streaming kit with the ATEM Mini Pro as that starting point, and if you want help deciding whether it fits your room, your internet, and the person who will run it, that is exactly the kind of question we are glad to talk through before you buy.